Make Your Own Dry-Erase Manipulatives:
Asalaam ‘Alaikum:
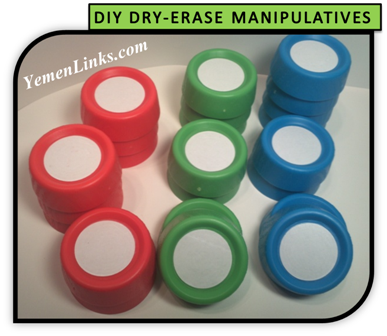
The other day I found some game pieces at the local resale shop. Originally I saw them and was intrigued – but couldn’t think how I would use them. However, after walking down a few aisles, I decided to go back and fortunately they were still there. The discs I found were from the Topsy Turtle Game – it was only $2.00 for all of them – and I’m so glad I decided to buy them.
After returning home, I realized that I really wanted to use these as manipulatives. However, a lot of times manipulatives – especially those that have writing on them – have limited uses. If I were to just write the Arabic letters on them – I was stuck with using them only for Arabic – if I just put numbers on them – I could only use them for math. I decided I wanted to find a way to use these and make them re-useable for different skills – but how? After some thought – I realized that if I put a sticker on the top – and then covered the sticker with contact paper – I would have my own dry-erase manipulatives. What happened next – when I tried to use them – is when the amazement set in – you could use these for practically A-N-Y-T-H-I-N-G!
These manipulatives are much more useful than I have imagined – and one nice thing is that using them is a quick way to use a manipulative that you didn’t plan on using. Have you ever found yourself in the middle of a lesson and your child is stumped – so you go search online for tools to help. A half an hour later you are still searching, or perhaps you are gathering the materials, printing or cutting out manipulatives. So much time gets wasted that way. Using these manipulatives gets rid of that problem. Just take them out and tailor them to your lesson. I can go from teaching math concepts with these for one child and then turn around and use them in teaching Arabic with another (in a manner of seconds) – just wipe off the dry-erase marker and reuse – that’s it. You can’t ask for an easier tool for teaching.
So, before I go on and on about how we are using these – let me first tell you how you can make a set of your own. You can also find easy-to-print instructions on my website:
DIY Dry-Erase Manipulatives
ITEMS NEEDED:
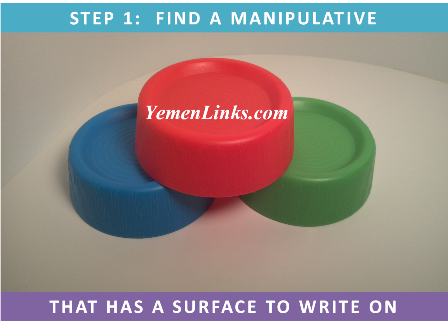
round wood discs, plastic discs, wooden squares, pattern blocks – anything large enough to write on!
Contact paper
Sticker paper, labels or anything you can think of to make a background for the writing
HOW TO MAKE YOUR OWN DRY-ERASE MANIPULATIVES:
I am even thinking of purchasing rectangle wooden pieces to use for vocabulary words – as it would make it much easier to write words on them.
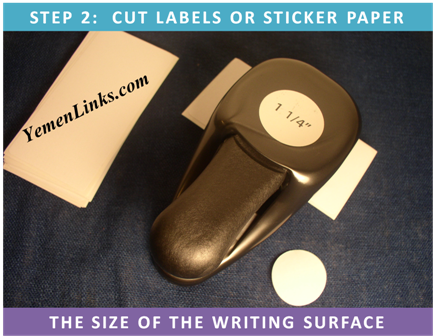
I used name tag labels as the sticker on my manipulatives (that’s all I had around). You could also use a sheet of sticker paper or simply attach a piece of paper or cardstock with Mod Podge or glue. With my name tags, I was able to make 3 round stickers out of one label.
QUICK TIP:
Originally, I punched out the labels with the label and the backing attached. Big mistake – I could not get the label and backing to separate afterwards. However, if you take the backing off first – lay the label with the sticky side facing up – and they punch out the circle – it works fabulously (and it does not jam or get stuck in the paper punch).
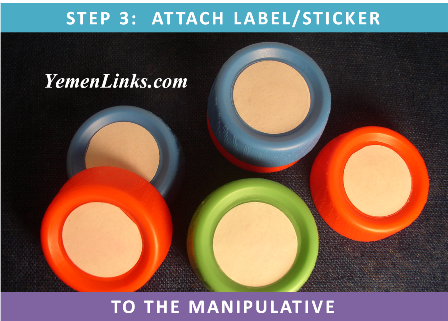
I then placed each round sticker onto the front of the manipulative.
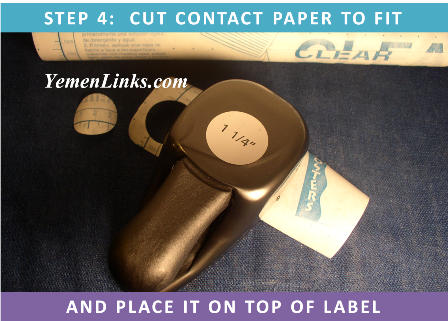
After that, I cut out clear contact paper the same size as the sticker. I also used my paper punch. This time, you DO NOT have to take the backing off before cutting – it works properly and is easy to separate after punching it out.
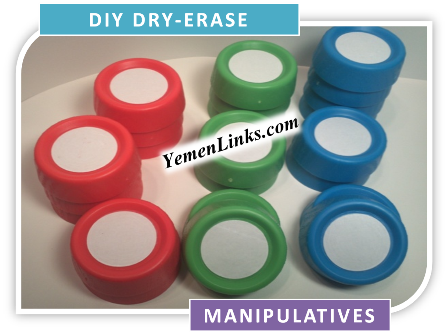
Place the contact paper circle over the sticker on the manipulative. When you are finished, this is what they should look like this:
You could easily apply the same principle. Also, you could easily cut out cardstock (with your handy paper punch – to make it easier) or even fabric (is you are so inclined) and put the dry-erase materials on the other side. This way – if you use the discs for matching – you will have a nice pattern on the back of the discs.
Well, that’s it for my creative moment this week. If you want to know how we used these manipulatives, please look at my next post:
35 Ways to Use Your
DIY Dry-Erase Manipulatives
~ to Teach Arabic ~
Asalaam ‘Alaikum,
Sumayyah Umm SAAK



1 Response
[…] Make Your Own Dry-Erase Manipulatives […]